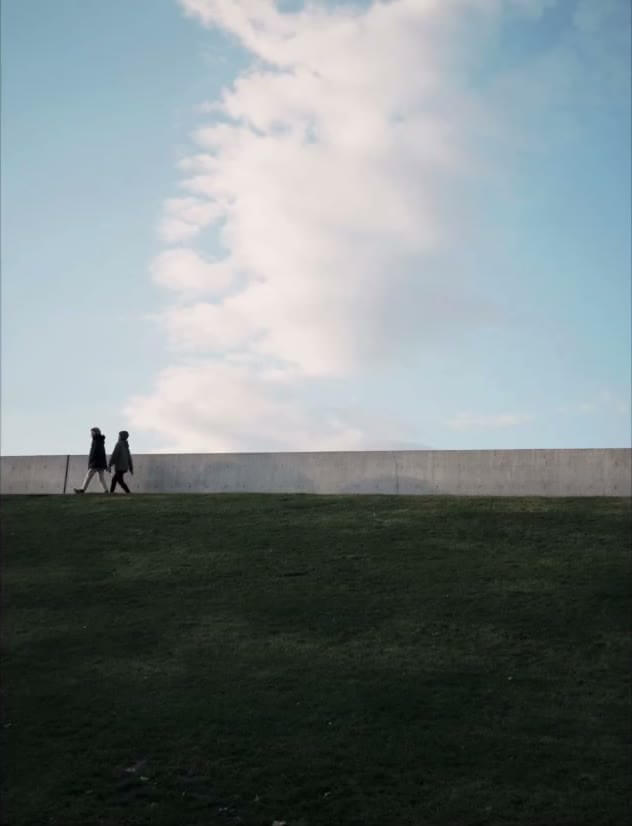
The soft, pastel, editorial look you see attached to Kodak Portra 400 isn't a filter or a lab trick — it's the direct result of one exposure decision plus how the film's chemistry responds to it. Here's the mechanism, and a recipe you can repeat.
Why Portra 400 Became the Default Portrait Stock
Kodak introduced the original Portra line in 1998 as a direct replacement for Vericolor III, aimed squarely at wedding and portrait labs that needed a negative film they could scan or optically print without fighting the color balance on every roll. The formulation Kodak ships today dates to a 2010 revision that rebuilt the emulsion around finer T-grain silver halide crystals and expanded the color coupler set, which is why current Portra 400 resolves noticeably less visible grain than the film photographers were using a decade earlier at the same speed rating.
What separates Portra from a general-purpose consumer negative film like Kodak Gold or Fujicolor 200 is that its color couplers were tuned specifically around the wavelengths skin reflects, rather than balanced for a broad average scene. Kodak built the emulsion off color science developed for its motion picture stocks, where getting a face right under inconsistent set lighting mattered more than nailing saturated greens or blues. That priority shows up directly in how Portra renders: skin holds a consistent, warm, slightly desaturated tone across a wide range of actual skin tones and color temperatures, while background colors are comparatively muted and low-contrast — the opposite trade-off a landscape-oriented film like Velvia makes.
The 400-speed version specifically sits at the point most working photographers reach for because it's fast enough for handheld available-light portrait work indoors or in shade, while still resolving finer grain than most ISO 800 negative stocks.
The Chemistry Behind Soft Skin Rendering
Portra 400 is a C-41 process color negative film, which means it develops through the same standard chemistry as almost every drugstore color roll ever made — the distinct look comes entirely from what's built into the emulsion, not a nonstandard development process. The film carries three light-sensitive layers, each sensitized to a different third of the visible spectrum, with color-forming couplers embedded directly in the emulsion that react during development to deposit cyan, magenta, and yellow dye in proportion to how much light struck that layer.
The T-grain crystals Kodak uses are flat and tabular rather than the older cubic-grain structure found in earlier color films, which gives each crystal a larger surface area relative to its volume. A flatter crystal captures more light per unit of silver, which is why Portra 400 can hit box speed with grain fine enough to blow up to poster size while a cubic-grain film at the same ISO looks noticeably coarser. That efficiency also gives the emulsion more headroom before individual grain clumps become visible in a smooth tone like skin — the area of a print where grain is most noticeable to begin with, since there's no texture or pattern to hide it in.
The orange mask layer standard to all C-41 negative film — the amber tint you see looking at an undeveloped strip — exists specifically to correct for the fact that cyan dye absorbs some green and blue light it shouldn't. Portra's mask is calibrated against its specific dye set, which is part of why scanning or printing Portra negatives with a generic C-41 profile gets skin tones close but not exact; the mask density is stock-specific.
Why Overexposing Portra 400 Produces the Pastel Look
Color negative film has an exposure latitude working in the opposite direction from digital sensors and slide film: it tolerates significant overexposure gracefully and punishes underexposure harshly. Kodak's own technical data for Portra 400 lists usable results at up to three stops over box speed and only about one stop under, and the pastel, airy look associated with editorial Portra work comes directly from shooting inside that overexposure headroom rather than from any filter or lab trick.
Rating the film at EI 200 or EI 160 — one to one-and-a-third stops slower than its ISO 400 box speed — and metering for that rating puts more light on the negative than a "correct" exposure would. Because the film's characteristic curve compresses highlights gently instead of clipping them the way a sensor does, that extra light lands mostly in the midtones and shadows, lifting them toward lighter, lower-contrast values without blowing the brightest areas of the frame to featureless white. Skin specifically benefits: the extra exposure pushes it into the flatter, more linear part of the film's response curve, which is where Portra's tuned color couplers produce the most even, least blotchy tonal transitions.
The tradeoff is that overexposing trades away contrast and saturation everywhere else in the frame, not just in skin. Deep shadows lift to a soft charcoal instead of true black, saturated colors like a red jacket or green foliage desaturate toward pastel versions of themselves, and the overall image reads lighter across the board. That global softening is the actual mechanism behind the pastel editorial description — a direct, physical consequence of exposing generously, not a separate stylistic layer applied afterward.
Reading Light for the Look
The overexposure technique only works cleanly in scenes with moderate existing contrast, because pushing a full stop of extra light into a high-contrast scene — direct sun with hard shadows — just clips the highlights that were already near the film's ceiling. Open shade, light coming through a north-facing window, or the hour before sunset gives the film a contrast range narrow enough that adding exposure lifts the whole scene evenly instead of blowing out the sky or a bright wall behind your subject.
Color temperature matters as much as contrast. Portra 400 is balanced for daylight, roughly 5500K, and renders most accurately under direct sun, open shade — which actually skews cooler, closer to 7000-8000K, and reads slightly blue on Portra without correction — or daylight-balanced strobes. Shooting under mixed light, a window with tungsten room lighting also in frame, produces a color cast the film can't fully resolve the way a white-balance slider can on a digital file, because the correction happens once, globally, at the printing or scanning stage rather than per pixel.
Late-afternoon light, roughly an hour before sunset when the color temperature drops toward 4000-4500K, is where a lot of the specific warm-pastel editorial look comes from: the warmer ambient light combines with Portra's already-warm skin rendering and the softened contrast from overexposure to produce the honey-toned, low-contrast frames associated with the look. Shooting the same technique at high noon under 5500-6000K light still gets you the pastel lift in shadows and highlights, but without the warmth, which reads as more clinical and less editorial.
A Practical Shooting Recipe for the Look
Putting the technique into a repeatable routine: load Portra 400, but set your camera's meter or handheld light meter to EI 200 for the entire roll rather than switching back and forth, since mixing box-speed and overexposed frames on the same roll means the lab either overdevelops one set or underdevelops the other during a standard bulk C-41 run. Meter off the subject's skin or a middle-gray card rather than the whole scene — Portra's latitude protects you from a moderately bright background but won't save skin underexposed by more than about a stop.
Shoot within roughly ninety minutes of sunset when the specific warm, honey pastel look is the goal — the color temperature drop compounds with the film's warm skin rendering rather than fighting it. If shooting midday, look for full open shade under a tree canopy or a building overhang rather than direct sun; the softer light won't add the honey warmth but keeps the same low-contrast lift. Send the roll to a lab and specify normal development scanned for shadow detail — because you overexposed rather than underexposed, the film needs standard C-41 time, not a push in the chemistry itself; a lab that doesn't know you shot at EI 200 will scan to a "correct" density and wash out the lift you built in.
Bringing the Look Into RfCamera
RfCamera's simulation of a stock like Portra runs through the same live pipeline it uses for every film profile: a color-matrix transform tuned to the stock's characteristic tonal response, layered with a GLSL fragment shader (film.frag) that handles the optical side — barrel distortion and chromatic aberration consistent with the lens attached to the simulated camera — followed by grain, light-leak, dust, scanline, and vignette overlays. Those texture overlays come from scans of physical film and real light-leak plates rather than procedural noise, which matters for a stock like Portra where the grain character is part of what reads as real film rather than a filter.
Because the same pipeline runs live in the viewfinder (film_view.dart) and again when you save a photo, there's no separate preview quality and export quality — what you see composing the shot through the color-matrix pass is what bake.dart replays inside a background compute() isolate when you tap the shutter, keeping the app responsive while it processes the full-resolution JPEG rather than blocking the UI thread.
For a technique like intentional overexposure, that live preview is the actual practical value: you can watch the color-matrix response lifting shadows and softening highlights in real time before committing to a frame, in a way real Portra only reveals after the roll comes back from the lab. RfCamera stores every saved photo locally in the app's own documents directory rather than a shared media library, and the app requests no INTERNET permission at all, so none of that experimentation depends on a network connection or an account to work.