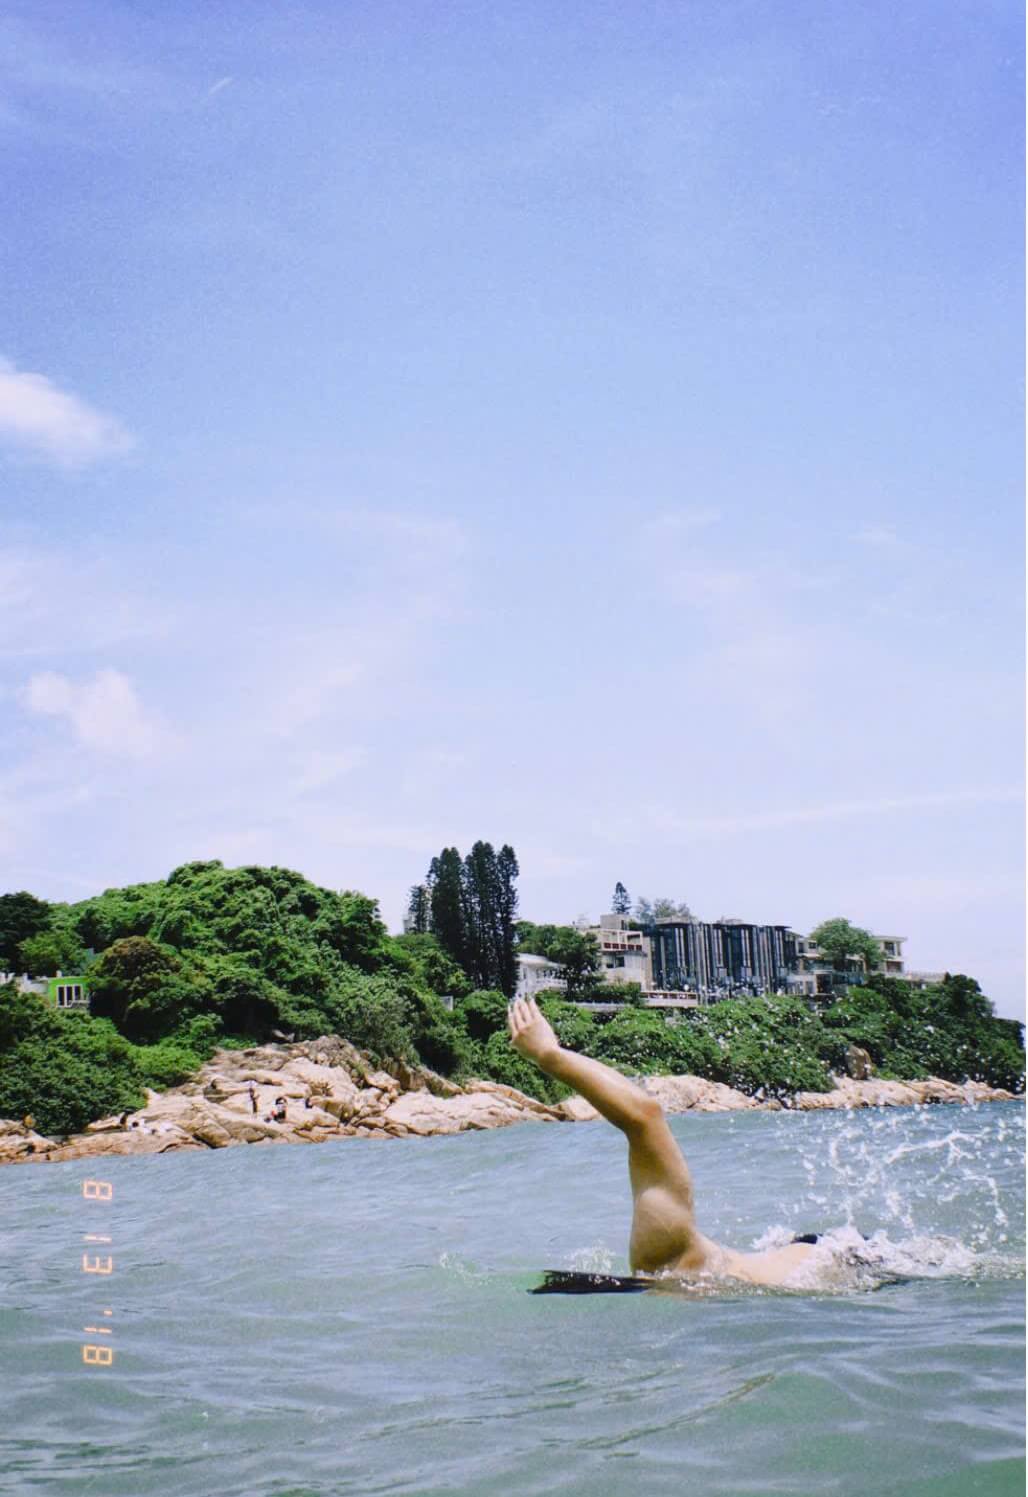
Kodachrome 64 shaped the visual language of travel photography for over three decades, and its saturated reds and yellows still define how millions of people picture the 1970s. Recreating that look starts with understanding why a nearly obsolete K-14 process produced colors no modern film can quite match.
A Recipe Born From a Discontinued Film
Kodak introduced Kodachrome in 1935 as one of the first commercially viable color reversal films, originally developed by musicians-turned-chemists Leopold Godowsky Jr. and Leopold Mannes. Kodachrome 64 arrived in 1974 as a faster replacement for the original Kodachrome-X, giving photographers a usable ISO 64 speed without sacrificing the film's signature color separation. Through the late 1970s, 80s, and into the 90s, it became the default stock for photojournalists and travel photographers, largely because its dye set rendered skin tones, market produce, and sun-bleached architecture with a warmth that competing E-6 films could not reproduce.
The film required a proprietary development process called K-14, which only a small number of labs worldwide were licensed to run. That complexity, combined with the rise of digital cameras and cheaper E-6 alternatives, made Kodachrome increasingly hard to justify commercially. Kodak discontinued Kodachrome production in June 2009, and processing chemistry became the real bottleneck — Dwayne's Photo in Parsons, Kansas, was the last lab in the world still running K-14, and it processed the final roll of Kodachrome ever made on December 30, 2010, closing a 74-year chapter in film history. Every frame shot on Kodachrome 64 since that date has been developed nowhere; the film simply cannot be processed to spec anymore, which is why photographers now reach for digital emulation instead of chasing expired stock through cross-processing.
Why the Colors Separate So Cleanly
Kodachrome's saturation came from a fundamentally different chemistry than the films that replaced it. Most color films, including everything shot on C-41 or E-6 today, are integral tripack: the dye couplers that create cyan, magenta, and yellow are built into each emulsion layer before the film ever reaches a camera. Kodachrome worked the opposite way. It captured only black-and-white silver images in its three layers, and the color dyes were introduced afterward, one layer at a time, in the K-14 process — the film was re-exposed to colored light and developed in separate baths for each layer, with each dye coupler diffusing in from the developer rather than sitting pre-mixed in the emulsion.
This non-substantive process produced tighter, more localized dye clouds than integral tripack film could achieve, which is the real source of Kodachrome's reputation for fine, tight grain despite its relatively slow ISO 64 speed. That slow speed mattered too: shooting at EV 13 to EV 15 in daylight forced photographers into strong, direct light, which naturally increased apparent contrast and color saturation compared to faster films shot in flatter conditions. The dye set itself had a spectral bias — the cyan and yellow layers responded with unusual strength to red and orange wavelengths, which is why market stalls, terracotta rooftops, and desert landscapes photographed on Kodachrome 64 carry that specific red-yellow punch that other reversal films never quite reproduced.
Simulating the Look in RfCamera
You cannot buy or process Kodachrome 64 anymore — the chemistry is gone — but its color response is well documented enough to approximate digitally, and RfCamera's preset for this film targets four variables that mattered most in the original stock: exposure index, color temperature, grain density, and edge falloff toward the frame corners. The preset does not raise saturation across the board, because uniform saturation boosts are what make cheap digital filters look fake. Instead it pushes the red and yellow channels selectively while leaving blues and greens closer to neutral, which is closer to what the film's dye set actually did. That selective push is the difference between a photo that looks like Kodachrome and one that just looks oversaturated. Grain density and edge falloff work together too: push grain too high without matching vignette strength and the frame looks digitally noisy rather than photochemically grainy, because real film grain gets denser and more visible toward the edges where the lens diffuses light least evenly.
Set these before you shoot instead of trying to fix flat, overcast light afterward. Kodachrome's contrast and color came from how the emulsion responded to strong midday sun at the moment of exposure — cloudy light simply did not trigger the same dye response, and no amount of post-processing recovers detail the film never captured under weak light. RfCamera's live preview applies the same color matrix and grain plate you'll get in the final JPEG, so what you frame in the viewfinder is what gets baked into the saved file once you press the shutter, not an approximation that changes after export.
Framing and Light for the Travel Look
Kodachrome 64 photographers who shot National Geographic-style travel work in the 1970s and 80s were not chasing golden hour the way digital shooters are trained to today. ISO 64 forced them into the brightest hours of the day, and the film rewarded that constraint rather than punishing it. Direct, high-angle sun around midday created hard shadows and strong color saturation that this recipe is built to recreate, so point your subject toward open sky rather than waiting for soft evening light. Market stalls with piled produce, sun-faded storefronts, tuk-tuks and motorbikes parked in rows, and painted shopfronts all give the red-yellow channel push something specific to grab onto — flat, desaturated scenes like gray pavement or overcast skies will not show the effect nearly as clearly.
Fill your frame with color blocks rather than negative space: Kodachrome's reputation was built on dense, saturated compositions, not minimalist ones. Backlighting is worth using deliberately here too, since the grain plate and edge falloff in this preset were tuned to interact with halation-prone highlights, giving bright backlit edges a soft warm bloom rather than a harsh digital clip. Skin tones respond well under open shade at midday, where indirect light avoids the deep contrast of direct sun while still keeping enough warmth for the red channel to register. Avoid shooting this recipe indoors under tungsten or fluorescent light — the white balance is locked to daylight character, and mixed lighting will push color casts the original film was never designed to handle.
How RfCamera Bakes This Look On-Device
Every RfCamera preset, including this one, runs through a single processing pipeline used for both the live viewfinder and the final saved photo. When you point the camera and see the Kodachrome color response in real time, that preview is generated by a colour matrix combined with a GLSL fragment shader — the same shader that also renders the barrel distortion and chromatic aberration you'd expect from a period-correct lens. Grain, film-leak, dust, scanline, and vignette layers are composited on top of that base image, and those texture plates are scans of real film stock rather than procedurally generated noise, which is part of why the grain in this recipe has an organic, non-repeating pattern instead of a uniform digital dither.
The moment you press the shutter, the app does not simply screenshot the live preview. It replays the identical pipeline — the same color matrix, the same shader, the same grain and vignette plates — against the full-resolution sensor capture inside a background isolate, so the app's interface never freezes while a high-resolution JPEG bakes in the background. This is why the frame you composed in the viewfinder matches the file that ends up in your camera roll almost exactly, down to where the halation sits on a bright highlight. None of this processing touches a server: RfCamera has no network permission at all, so the entire Kodachrome simulation, from live preview to the saved JPEG, runs on your device with no upload step and no dependency on a connection.
When This Recipe Earns Its Keep
This preset is not a universal filter you should leave running on every shot. It was built around a specific set of conditions — direct daylight, saturated color subjects, and travel-style documentary framing — and it shows its limits outside of that range. Shoot it indoors under mixed lighting and the red-yellow push will fight with whatever color cast the room already has, producing muddy skin tones rather than the warm, punchy look you get outdoors. Shoot it in low light and the grain intensity, which is tuned to sit at the edge of visible without looking noisy in bright exposures, will start to dominate the frame the way real ISO 64 film would if you tried to push it past its rating.
Where it does work is exactly where the original film worked: busy street markets at midday, sun-bleached coastal towns, terracotta and ochre architecture, food stalls, and any scene where color density carries the composition more than tonal range does. It also pairs well with wider apertures and closer subject distance, since Kodachrome's fine grain rewarded detail-heavy compositions that modern zoom-heavy travel photography often skips past. If you find yourself shooting flat, gray weather, switch presets rather than forcing this one — a recipe tuned for one kind of light will always look better matched to that light than stretched to cover conditions it was never built for.